When to Remove Bread from Bread Machine: Perfect Timing Guide
Mastering when to remove bread from your bread machine is crucial for achieving the perfect loaf. This guide explores the baking cycle, removal techniques, and factors affecting timing to help you bake delicious homemade bread consistently.
Baking bread at home has never been easier, thanks to the convenience of bread machines. Whether you're a seasoned baker or just starting out with your best bread machine for beginners, understanding the intricacies of the baking process is key to producing delicious loaves. One of the most crucial aspects of using a bread machine is knowing when to remove bread from bread machine. This timing can make all the difference between a perfect loaf and a disappointing result. As someone who has experimented with various bread machines and recipes, I'm excited to share my insights and help you achieve bakery-quality bread right in your kitchen.
Before we dive into the specifics, it's worth noting that finding the best bread maker for your needs can significantly impact your baking success. Each model has its unique features and quirks, which can affect the baking process and, consequently, the ideal removal time. Now, let's explore the intricacies of bread machine baking and uncover the secrets to perfectly timed bread removal.
Understanding the Bread Machine Baking Cycle
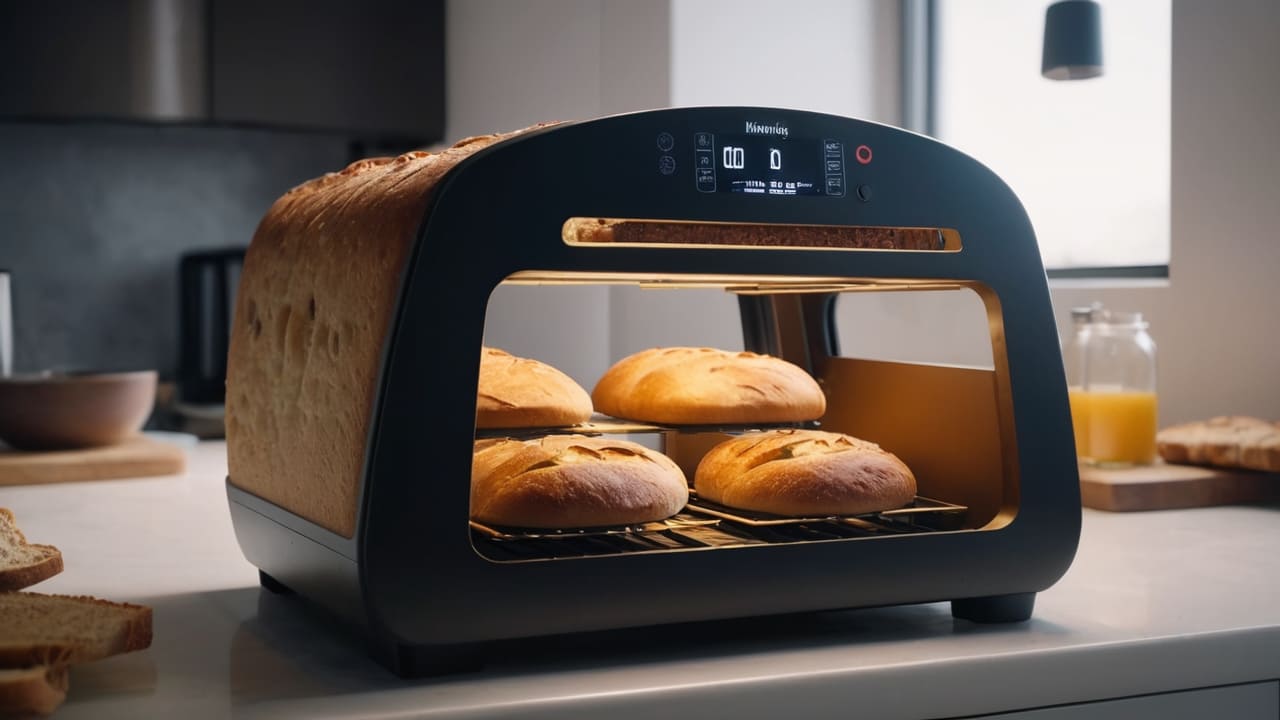
To master the art of bread machine baking, it's essential to familiarize yourself with the various stages of the baking cycle. This knowledge will help you anticipate when your bread will be ready and ensure optimal results.
Stages of the bread machine process:
- Mixing and kneading: The machine combines ingredients and develops gluten.
- First rise: The dough rests and begins to ferment.
- Punch down: The machine deflates the dough to redistribute yeast.
- Second rise: The dough rises again, developing flavor and texture.
- Shaping: Some machines reshape the dough for the final rise.
- Final rise: The dough rises one last time before baking.
- Baking: The bread is baked to golden perfection.
Typical duration of a complete cycle:
Most bread machines take between 2 to 4 hours to complete a full cycle, depending on the type of bread and settings chosen. Basic white bread usually takes about 3 hours, while whole grain or specialty breads might require longer.
Importance of following the cycle for optimal results:
Each stage of the baking cycle plays a crucial role in developing flavor, texture, and structure in your bread. Interrupting the cycle prematurely can result in underbaked, dense, or flavorless bread. It's generally best to let the machine complete its full cycle for the best results.
When to Remove Bread from Your Bread Machine
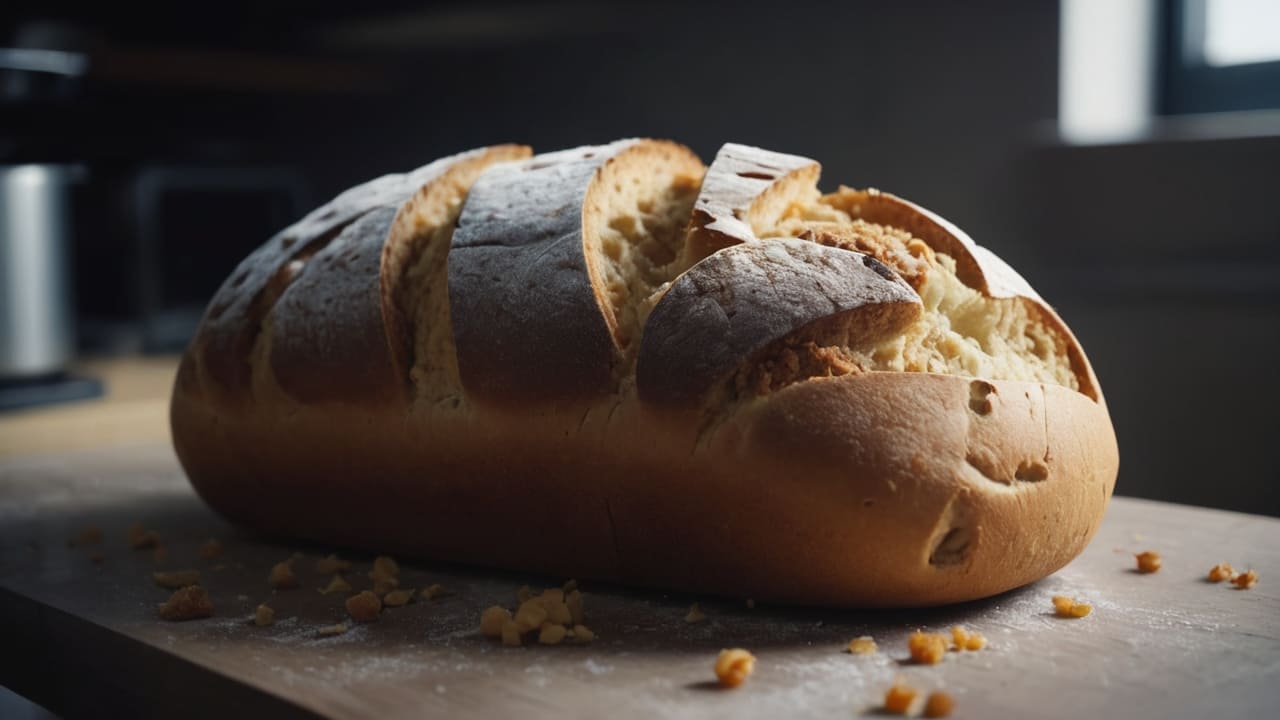
Knowing the right moment to remove your bread is crucial for achieving that perfect loaf. Here are some key indicators to look out for:
Signs that your bread is ready:
- Golden brown crust: A well-baked loaf should have an even, golden-brown color.
- Hollow sound: Tapping the top of the loaf should produce a hollow sound.
- Internal temperature: The center of the bread should reach about 190°F (88°C) for most types of bread.
Using the machine's signal or beep:
Most bread machines are equipped with an audible signal that indicates when the baking cycle is complete. This is usually a reliable indicator that your bread is ready to be removed. However, it's always a good idea to visually inspect the bread as well.
Consequences of removing bread too early or too late:
Removing bread too early can result in a doughy, undercooked center and a pale, soft crust. On the other hand, leaving the bread in the machine for too long after baking can lead to a soggy bottom due to condensation buildup. It's crucial to find the right balance for the best results.
Factors Affecting Bread Removal Timing
Several factors can influence the ideal time to remove your bread from the machine:
Bread machine model variations:
Different models may have varying heating elements, insulation, and cooling systems, which can affect baking times. It's important to familiarize yourself with your specific machine's characteristics.
Loaf size and its impact on baking time:
Larger loaves generally require more baking time than smaller ones. Most machines offer settings for different loaf sizes, but you may need to adjust timing slightly based on your observations.
Crust color settings and their effect:
Many bread machines allow you to choose between light, medium, and dark crust settings. Darker crusts require longer baking times, which can affect when you should remove the bread.
Proper Technique for Removing Bread from the Machine
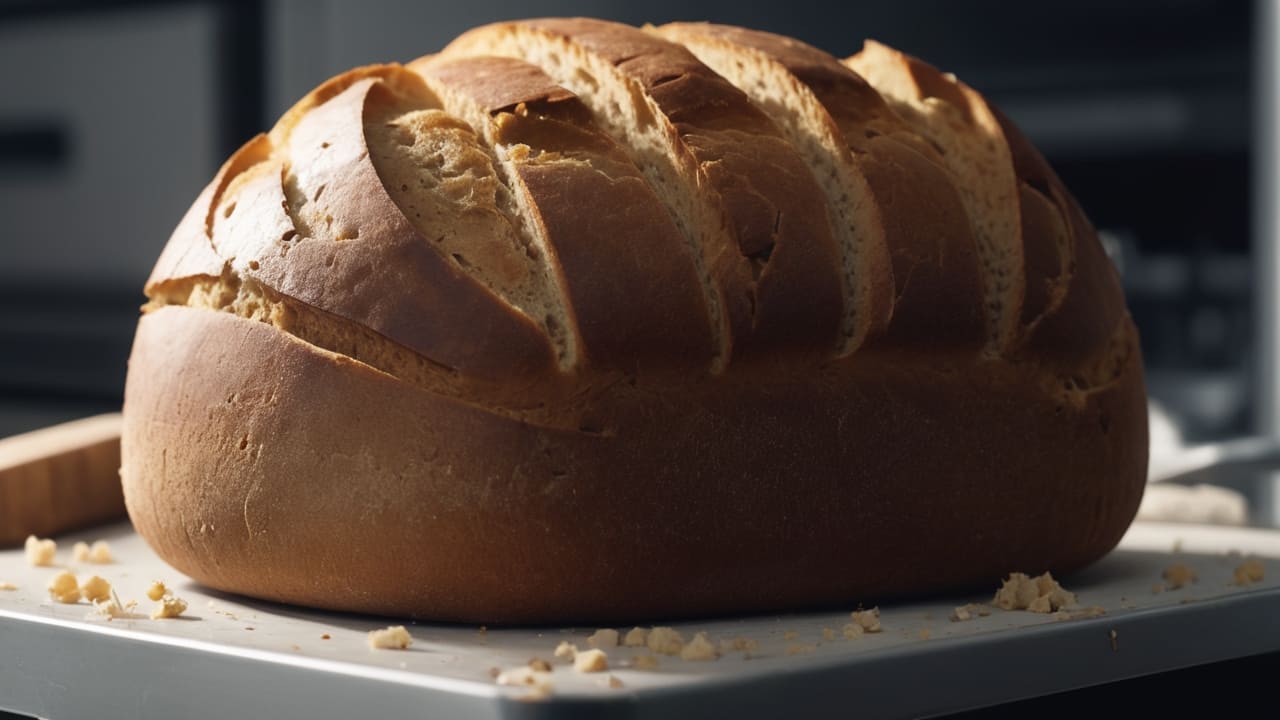
Once you've determined that your bread is ready, it's time to remove it from the machine. Here's how to do it safely and effectively:
Safely handling the hot bread pan:
Use oven mitts or thick kitchen towels to protect your hands when removing the hot bread pan from the machine. Be cautious of steam that may escape when opening the lid.
Dealing with the kneading paddle:
The kneading paddle often becomes embedded in the bottom of the loaf during baking. You can either leave it in place and remove it after the bread has cooled, or carefully extract it while the bread is still warm using a wooden skewer or specialized paddle removal tool.
Immediate vs. delayed removal considerations:
Some bakers prefer to remove the bread immediately to prevent the bottom from becoming soggy, while others let it cool in the pan for a few minutes. Experiment to find what works best for your preferences and machine.
Cooling and Storing Your Freshly Baked Bread
Proper cooling and storage are essential for maintaining the quality of your homemade bread:
Optimal cooling time and method:
Allow your bread to cool on a wire rack for at least 20-30 minutes before slicing. This allows the structure to set and prevents the bread from becoming gummy when cut.
Proper storage techniques for maintaining freshness:
Once completely cooled, store your bread in a paper bag or bread box at room temperature for 1-2 days. For longer storage, slice and freeze the bread, thawing slices as needed.
Slicing and serving recommendations:
Use a sharp, serrated knife to slice your bread without compressing it. Serve at room temperature for the best flavor and texture.
Troubleshooting Common Issues with Bread Machine Removal
Even experienced bakers encounter challenges from time to time. Here are some common issues and how to address them:
Bread sticking to the pan:
To prevent sticking, lightly grease the pan before adding ingredients. If the bread still sticks, let it cool for a few minutes in the pan, then gently loosen the edges with a plastic spatula.
Collapsed or sunken loaves:
This can be caused by over-proofing or using too much liquid. Adjust your recipe and ensure you're using the correct settings for your bread type.
Overcooked or undercooked bread:
If you consistently find your bread overcooked or undercooked, you may need to adjust the baking time or temperature settings on your machine. Keep notes on what works best for different recipes.
Maximizing Bread Quality with Proper Timing and Techniques
Achieving the perfect loaf involves more than just timing:
Achieving the perfect crust texture:
Experiment with different crust settings and removal times to find your ideal texture. Some bakers prefer to finish their bread in a conventional oven for an extra-crispy crust.
Ensuring even baking throughout the loaf:
Proper ingredient measurement and machine settings are key to even baking. If you notice uneven results, check that your machine is on a level surface and that ingredients are at the correct temperature.
Enhancing flavor and aroma through timing:
The final rise and baking stages are crucial for developing flavor. Allowing the bread to complete its full cycle often results in better taste and aroma.
Advanced Tips for Bread Machine Users
As you become more comfortable with your bread machine, consider these advanced techniques:
Utilizing the delay start feature effectively:
Many machines offer a delay start option, allowing you to wake up to fresh bread. Ensure perishable ingredients are kept cool and dry ingredients are separated from liquids when using this feature.
Adapting recipes for optimal results in your machine:
Not all recipes are created equal. Learn to adjust ingredient ratios and machine settings to optimize recipes for your specific bread maker.
Maintaining and cleaning your bread machine for consistent performance:
Regular cleaning and proper maintenance of your bread machine will ensure consistent results and prolong its lifespan. Follow the manufacturer's guidelines for care and cleaning.
In conclusion, mastering when to remove bread from bread machine is a combination of understanding your machine, recognizing the signs of a well-baked loaf, and fine-tuning your technique through practice. By paying attention to the factors we've discussed and experimenting with different recipes and settings, you'll soon be producing bakery-quality bread with confidence. Remember, each loaf is an opportunity to learn and improve, so don't be discouraged if your first attempts aren't perfect. With time and experience, you'll develop an intuitive sense of timing that will result in delicious, homemade bread every time.


